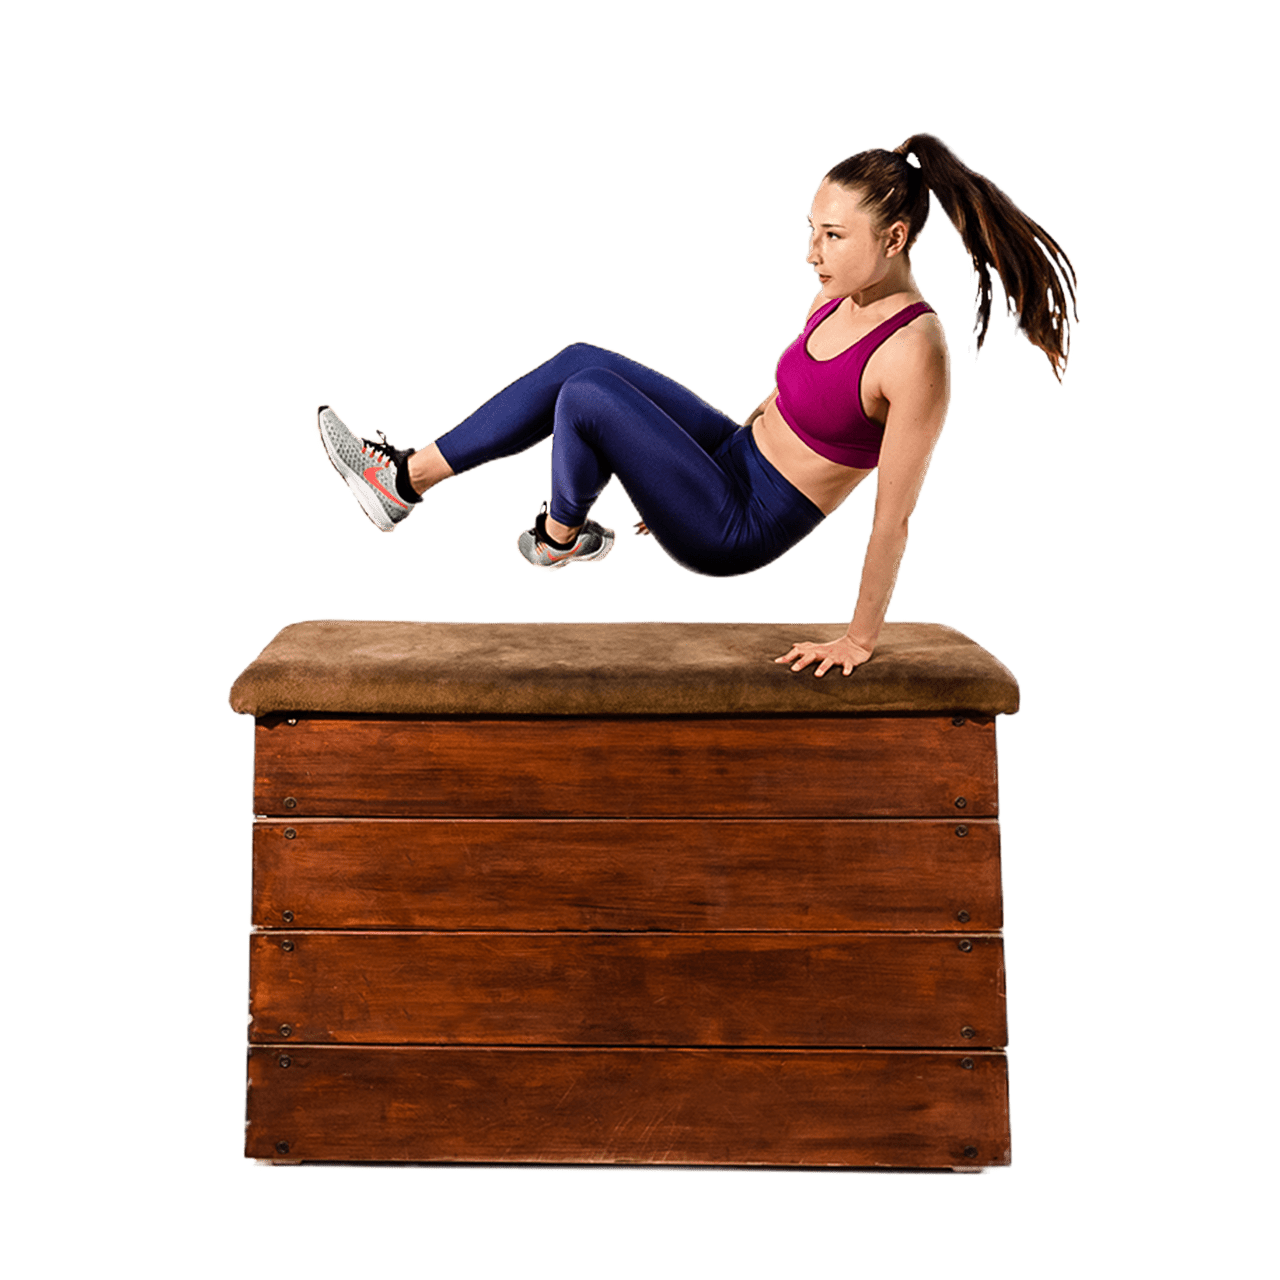
The transcript discusses a climbing technique known as the "high struggle up." This method builds on fundamental skills, beginning with getting a strong grip on the wall while in the hanging arm jump position. The climber must execute the struggle up efficiently, transitioning from a bent arm position and utilizing the forearm to push upward and secure footing on top of the wall.
The key differentiator in this climbing technique is the height of the wall, which introduces greater complexity. Starting from a higher wall requires the climber to shift their body position significantly and to engage their muscles differently compared to lower climbing scenarios. It emphasizes the importance of transitioning from a full reach to maintaining control while pulling oneself up.
As climbers progress, they face the challenge of beginning from a more extended and demanding posture, requiring significant strength and technique to successfully perform the struggle up. The technique is suited for those looking to advance their climbing skills, demanding both physical effort and mental focus to navigate the climbs effectively.
Key points:
- The high struggle up is a climbing technique that utilizes starting positions that require significant strength and control.
- The height of the wall poses an added challenge, necessitating a transition from a full reach to a more controlled movement.
- Mastery of the technique is essential for climbers looking to improve their skills and tackle more advanced climbing scenarios.
Demonstrate any method of getting over a wall that is full-stretch height or greater. (Height of you standing with arm straight up above you at full stretch).
Wall width must be of standard brick-length or less.
You can use any body-part or grip but must finish standing on top of the wall.
You must repeat three times.
height.
width.
repetitions.
landing.
5.4so we've worked on the struggle up and8we've worked on the low wall step in10.04normal climb up the next step is to do a13.12high struggle up so getting onto the16.32forearm but you're actually hanging on18.119the side of the wall um and you're sort20.4of not just stepping straight into it so23.039get on top of the wall where you're in24.88the hanging arm jump position and then27.92do the struggle up and we've gone29.4through the struggle up steps um this31.84time yeah the only change is you're on a33.48higher wall where you you you're35.52starting at sort of full reach doing the38.04pull doing the struggle up so here a42little bit so you're starting from the43.8arm bent bend the arm forearm up onto47.28the forearm shift across and then push50.559up you can get your foot up and you're52.719on top so yeah the only difference start56.28from a higher wall it does make a57.879difference because you're having to59.12start from this position position get to61.199this position and then get your forearm63.6up
1
00:00:05,000 --> 00:00:09,000
so we've worked on the struggle up and

2
00:00:08,000 --> 00:00:13,000
we've worked on the low wall step in

3
00:00:10,000 --> 00:00:16,000
normal climb up the next step is to do a

4
00:00:13,000 --> 00:00:17,000
high struggle up so getting onto the

5
00:00:16,000 --> 00:00:20,000
forearm but you're actually hanging on

6
00:00:18,000 --> 00:00:22,000
the side of the wall um and you're sort

7
00:00:20,000 --> 00:00:24,000
of not just stepping straight into it so

8
00:00:23,000 --> 00:00:27,000
get on top of the wall where you're in

9
00:00:24,000 --> 00:00:28,000
the hanging arm jump position and then

10
00:00:27,000 --> 00:00:30,000
do the struggle up and we've gone

11
00:00:29,000 --> 00:00:33,000
through the struggle up steps um this

12
00:00:31,000 --> 00:00:34,000
time yeah the only change is you're on a

13
00:00:33,000 --> 00:00:37,000
higher wall where you you you're

14
00:00:35,000 --> 00:00:41,000
starting at sort of full reach doing the

15
00:00:38,000 --> 00:00:43,000
pull doing the struggle up so here a

16
00:00:42,000 --> 00:00:47,000
little bit so you're starting from the

17
00:00:43,000 --> 00:00:49,000
arm bent bend the arm forearm up onto

18
00:00:47,000 --> 00:00:52,000
the forearm shift across and then push

19
00:00:50,000 --> 00:00:55,000
up you can get your foot up and you're

20
00:00:52,000 --> 00:00:57,000
on top so yeah the only difference start

21
00:00:56,000 --> 00:00:58,000
from a higher wall it does make a

22
00:00:57,000 --> 00:01:00,000
difference because you're having to

23
00:00:59,000 --> 00:01:03,000
start from this position position get to

24
00:00:61,000 --> 00:01:06,000
this position and then get your forearm

25
00:00:63,000 --> 00:01:06,000
up
